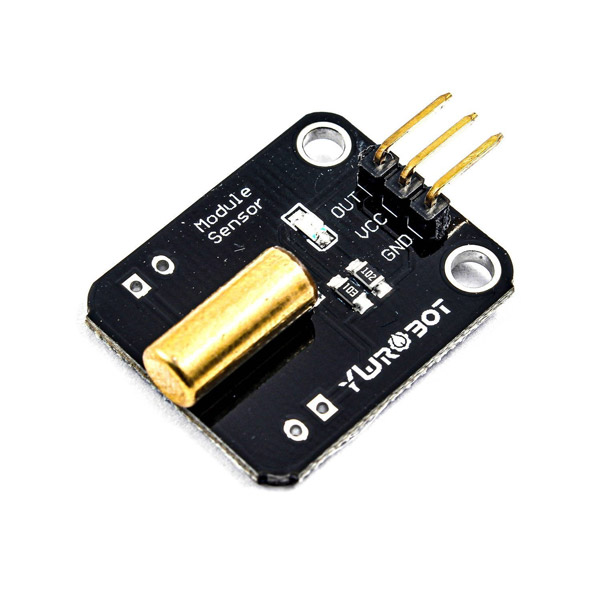
عملکرد این سنسور شبیه یک سوئیچ می باشد. داخل محفظه ی استوانه ای سنسور، 2 ساچمه وجود دارد. با توجه به نحوه ی قرار گیری این دو ساچمه، سوئیچ قطع و وصل می شود.
معرفی پایه ها (Pinout) سنسور کجی
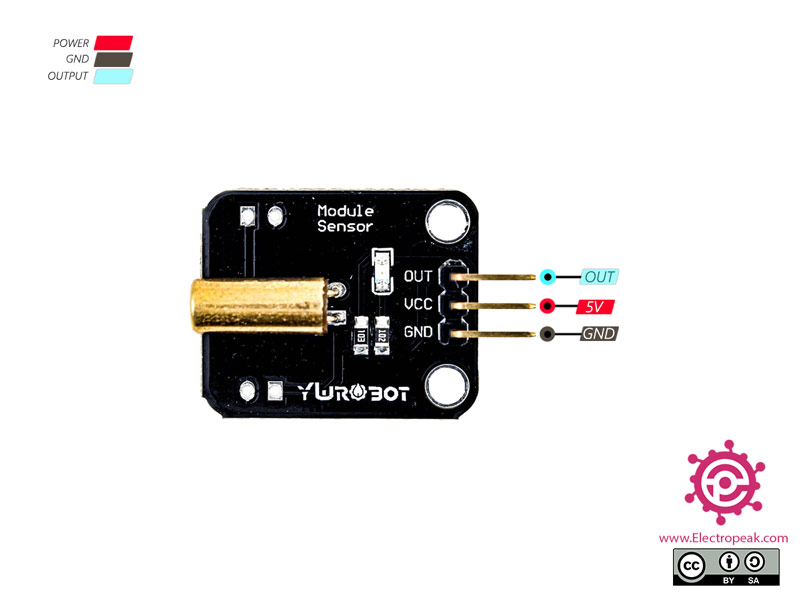
ماژول سنسور سوئیچ کجی و زاویه دارای 3 پایه به شرح زیر است:
VCC: تغذیه ماژول – 3.3 تا 5 ولت
GND: زمین
OUT: خروجی دیجیتال
پین اوت (Pinout) این ماژول را می توانید در تصویر زیر مشاهده کنید.
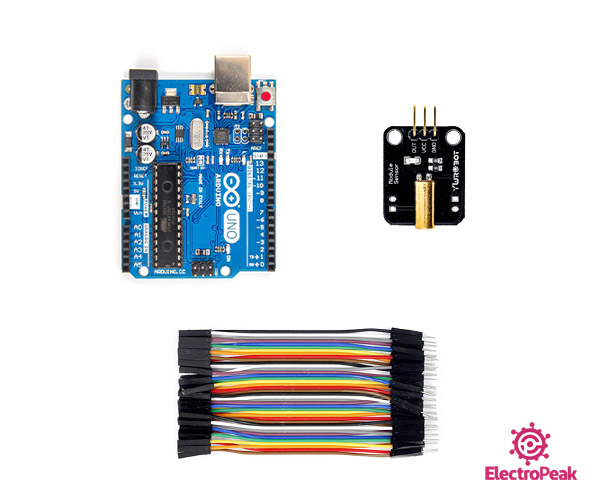
لوازمی که به آن احتیاج دارید
قطعات مورد نیاز
آردوینو UNO R3
×
1
سنسور زاویه
×
1
سیم جامپر نری به مادگی
×
1
نرم افزارهای مورد نیاز
آردوینو IDE
راه اندازی سوئیچ کجی و زاویه با آردوینو
گام اول: سیم بندی
مطابق مدار زیر، سنسور را به آردوینو وصل کنید.
گام دوم: کد
کد زیر را روی برد آردوینو آپلود کنید. این کد بر اساس زاویه ای که سنسور قرار دارد، LED روی آردوینو را خاموش و روشن می کند.
/* Tilt Switch
   Better Debouncer

   This debouncing circuit is more rugged, and will work with tilt switches!

   http://www.ladyada.net/learn/sensor/tilt.html
*/

int inPin = 2;         // Tilt Sensor
int outPin = 13;       // LED Pin

int LEDstate = HIGH;      // the current state of the output pin
int reading;           // the current reading from the input pin
int previous = LOW;    // the previous reading from the input pin

// the following variables are long because the time, measured in miliseconds,
// will quickly become a bigger number than can be stored in an int.
long time = 0;         // the last time the output pin was toggled
long debounce = 50;   // the debounce time, increase if the output flickers

void setup()
{
  pinMode(inPin, INPUT);
  digitalWrite(inPin, HIGH);   // turn on the built in pull-up resistor
  pinMode(outPin, OUTPUT);
}

void loop()
{
  int switchstate;

  reading = digitalRead(inPin);

  // If the switch changed, due to bounce or pressing...
  if (reading != previous) {
    // reset the debouncing timer
    time = millis();
  }

  if ((millis() - time) > debounce) {
    // whatever the switch is at, its been there for a long time
    // so lets settle on it!
    switchstate = reading;


    if (switchstate == HIGH)
      LEDstate = LOW;
    else
      LEDstate = HIGH;
  }
  digitalWrite(outPin, LEDstate);

  // Save the last reading so we keep a running tally
  previous = reading;
}